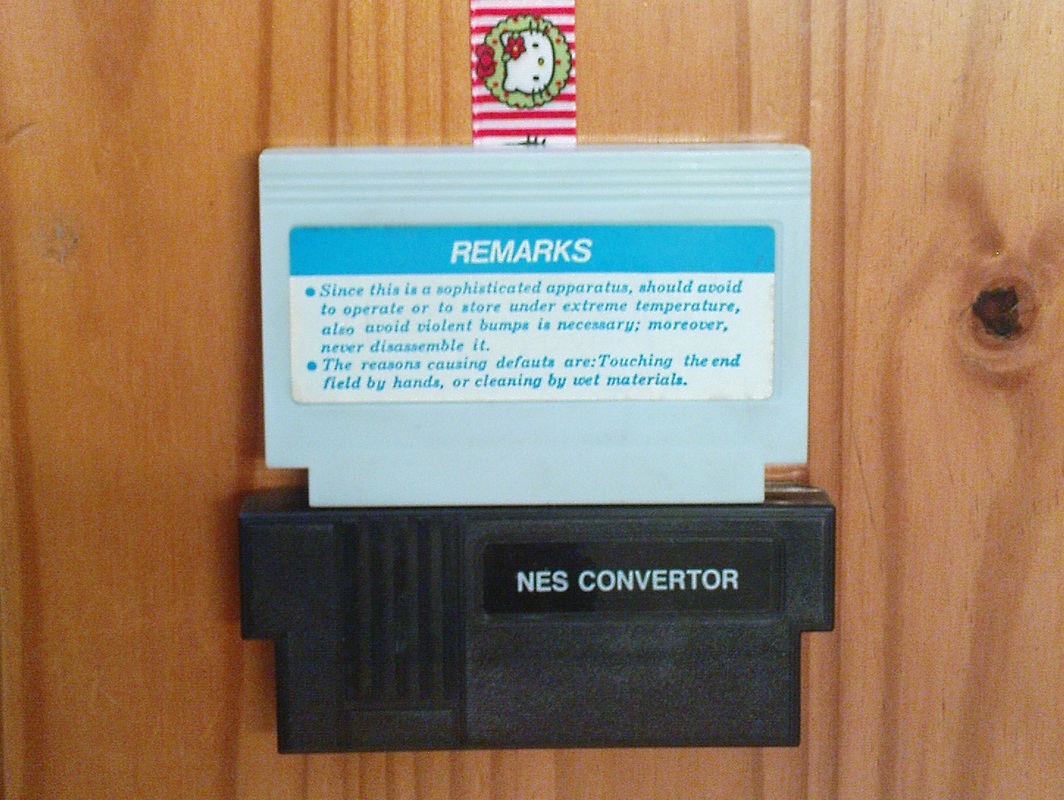
This is a NES to Famicom converter (with a spelling mistake in big letters) that may still be available from Hong Kong, which I bought via Feebay for £15.
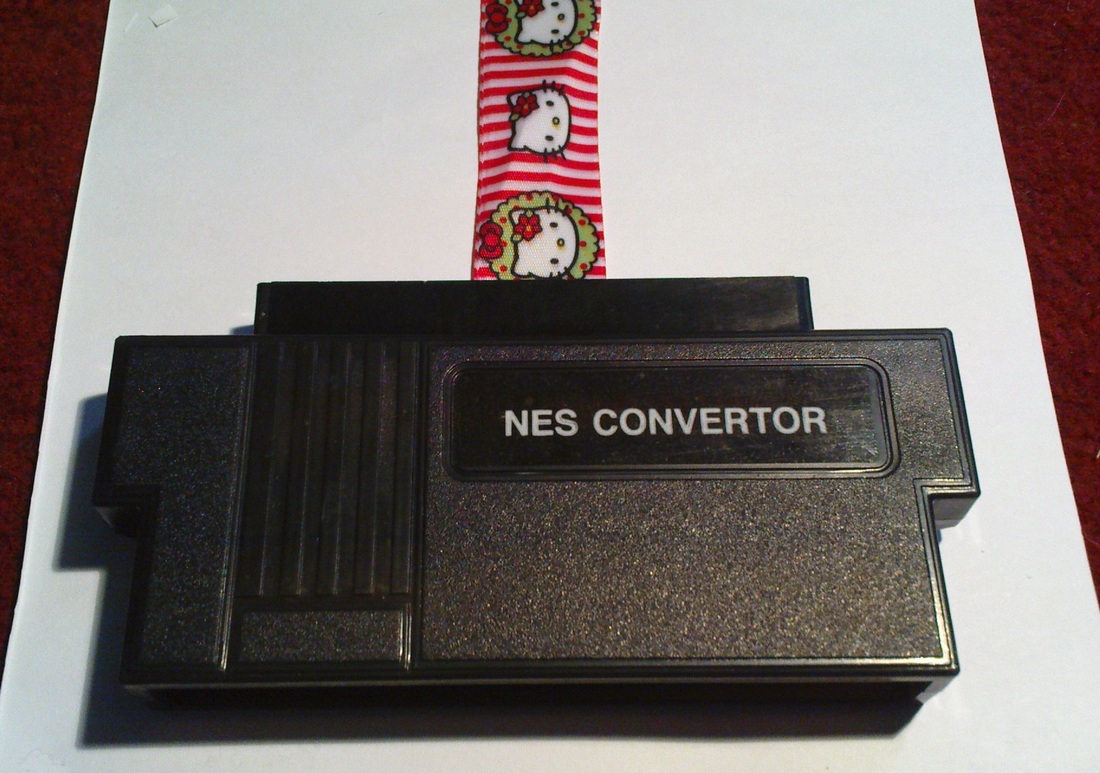
I had to make a few modifications to make this into a good reliable converter. Firstly I changed the ribbon to a wider bit of Hello Kitty ribbon that I had, as the original ribbon is not really wide enough to locate onto the plastic pins that pierce through it. It's a good idea to double the wider ribbon over on the plastic pins. You don't want the ribbon to fail as it is the means to remove the converter from the NES.
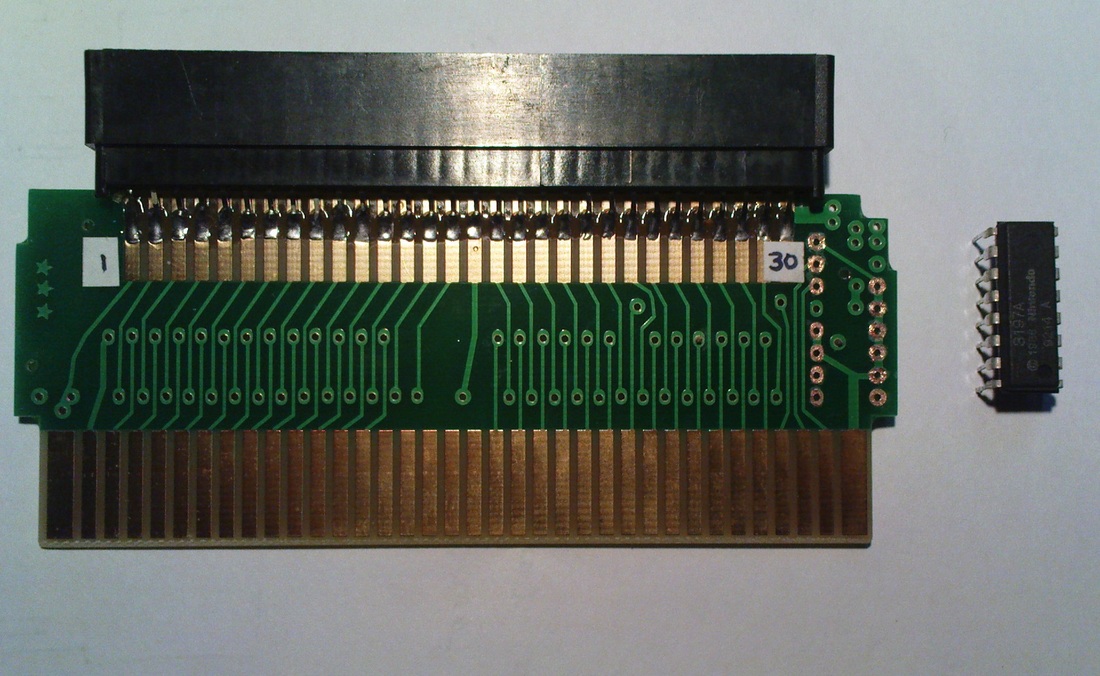
I've checked the PCB for correct layout, everything is correct. It even has a location for a genuine NES lockout chip. If you don't fit a lockout chip, this converter won't work unless you've disabled the lockout chip in your console. It is important to remove the green varnish from the pads where the chip will be soldered in, as shown above. (The image above shows the solder side of the chip).
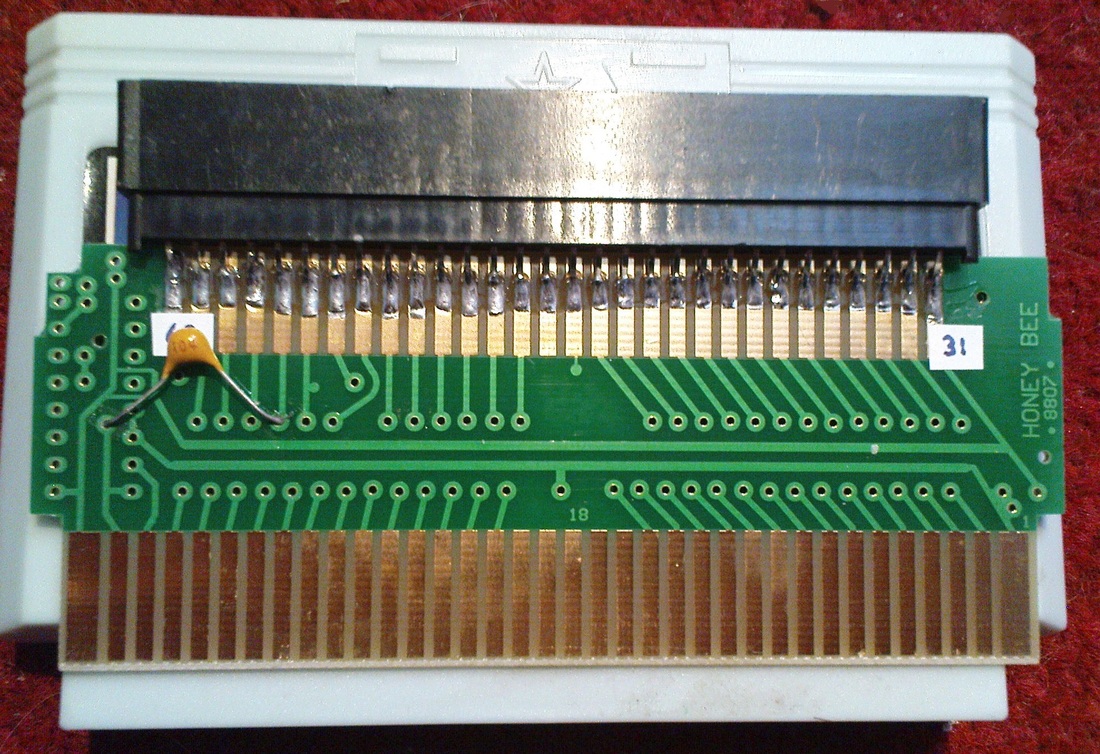
There's a Tantalum bead capacitor soldered to the PCB, I discovered that it stops the converter working, it needs to be desoldered. Who could know if this is a genuine Honey Bee PCB. Once you've removed the capacitor, the lockout chip can go in.
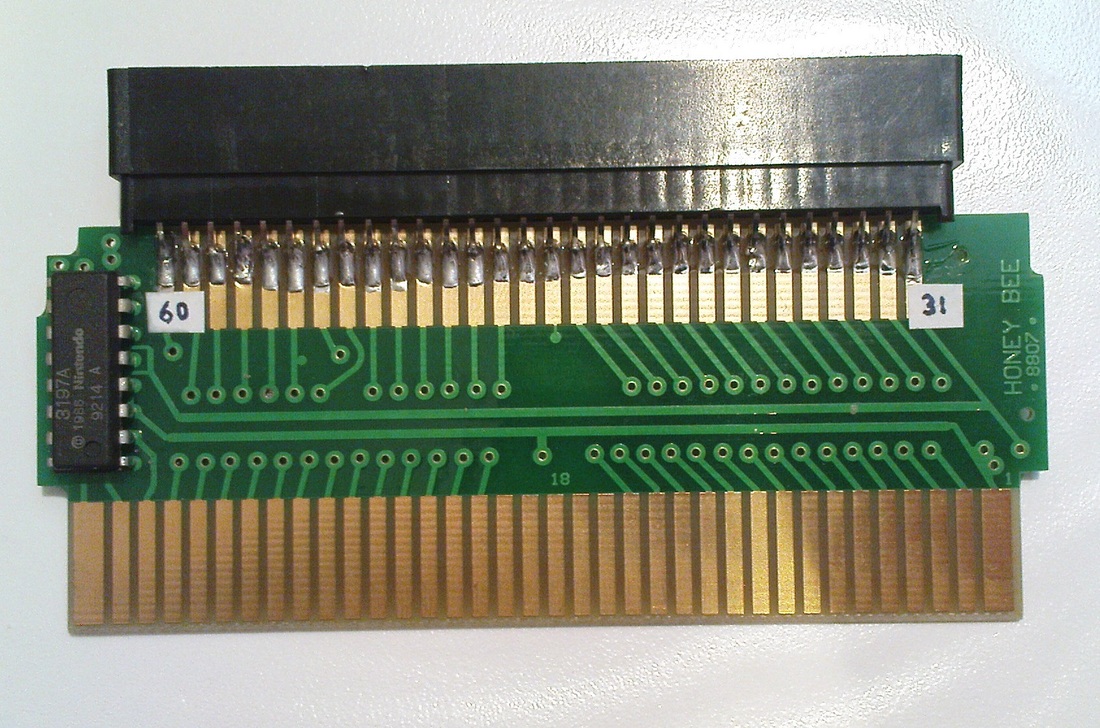
Lockout chip is soldered into position, note on which side of the PCB it is fitted and that the notch or circular depression in the chip is at the bottom. Now the converter can be reassembled and put into action. When plugging the famicom game into the converter, it goes in 'upside down'. The converter will have the word 'CONVERTOR' facing up, and the famicom game's label will be facing down, as you push it into the NES.
Rear side of Famicom cartridge and top side of converter. Push into your NES with this orientation. This converter will only allow you to use the Famicom games that are standard size ( 70mm max ), not the larger ones like Bombliss / Tetris 2.
